
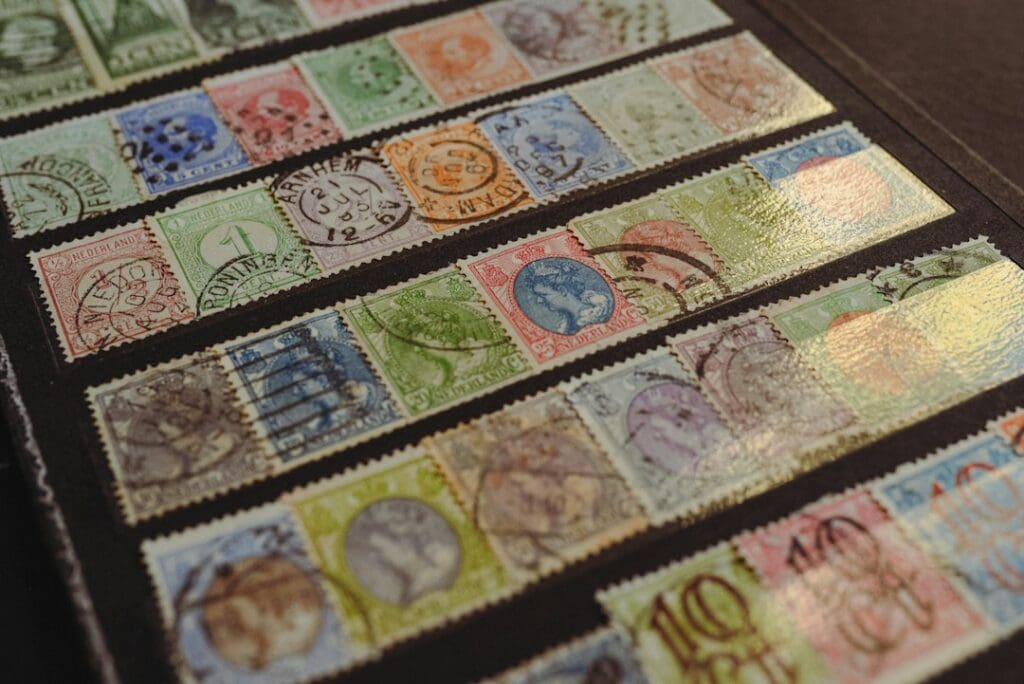
Sooner or later, almost every collector ends up with a stack of envelopes, postcards, or package labels covered in used stamps. Getting those stamps off the paper is one of the oldest skills in the hobby, and it is easier than it looks. With a little patience and a few household items, you can free your stamps without tearing, creasing, or smearing them.
What You Will Need
Nothing here is fancy. Gather a shallow bowl, lukewarm tap water, a pair of scissors, stamp tongs, clean paper towels or blotting paper, and a heavy book. A small towel under your work area is a good idea too, since this can get a little splashy.
Step 1: Trim the Paper
Cut around each stamp, leaving a small border of paper on every side, roughly a quarter of an inch. Do not try to cut right up to the perforations. The extra paper gives you something to grab with tongs, and it keeps scissors away from the stamp itself.
Step 2: Let the Water Do the Work
Fill the bowl with lukewarm water and lay the trimmed pieces on the surface, stamp side up. Hot water is not necessary and can be harder on paper and ink, so keep it comfortable to the touch. Within a few minutes, the gum dissolves and the stamp starts to loosen. Many slide free on their own.
The most important rule is simple: never peel. If a stamp resists, give it more time. Pulling a stamp off paper that is still holding on is the fastest way to thin it or tear it.
Step 3: Remove and Rinse
Once a stamp separates from the paper, lift it out with tongs. You can give it a quick dip in a bowl of fresh water to rinse off any leftover gum. Fresh water also helps if the first bowl has gotten cloudy from several stamps.
A Few Stamps Deserve Extra Caution
Most stamps soak without any trouble, but a few situations call for care:
- Soak stamps from different envelopes in separate batches if you are not sure about the ink. Some colors can run, and you do not want one stamp staining another.
- Do not soak mint stamps. Water will remove the gum, and once it is gone, you cannot put it back.
- Handle older, delicate stamps gently, and if you suspect a stamp is valuable, look into it before you soak it.
- Keep an eye on stamps on colored or glossy paper, since the paper can bleed into the water.
Step 4: Dry Them Flat
Lay each stamp face down on a clean paper towel or blotting sheet. Face down keeps the printed side from sticking to anything as it dries. Leave them until they are damp rather than soaking wet, then cover them with another clean sheet and place a heavy book on top. Pressing them while they are still slightly damp helps them dry flat instead of curling.
Give them several hours, or overnight, before you check. A stamp that is not completely dry should not go into an album, because trapped moisture can cause problems later.
Step 5: Store Them Safely
Once your stamps are dry and flat, handle them only with tongs. Sort them into glassine envelopes for now, or go straight to your album if you are ready to mount them. A clear mount protects each stamp from dust and fingerprints, and it keeps the stamp flat on the page.
Make It a Relaxing Habit
Soaking stamps is a calm, satisfying task. Put on some music, soak a small batch, and enjoy the little reveal as each stamp floats free. Start with a handful of common stamps to get a feel for it before you work on anything you care about. A little practice goes a long way.
Shop stamp tongs and tools | Browse stamp mounts at iStampMounts